Change your bathrooms look inexpensively with painted tiles
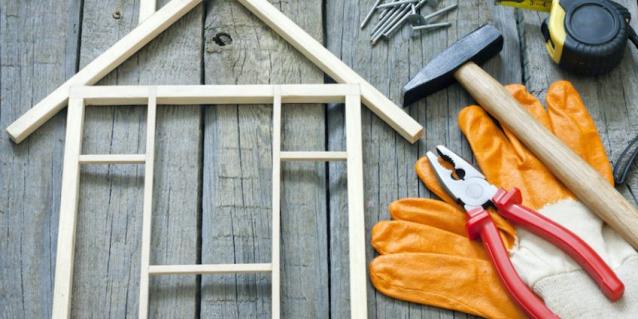
As with any painting project you will need to gather a few tools. Consider your needs when purchasing tools to paint bathroom tiles as some are optional. The following list will give you a guide for what you need but it won’t hurt to ask at the hardware store for more specific guidance.
Tile paint
Laminate and primer
Mini roller frame and cover
Paint tray
Paint brushes
Masking tape
Grout (optional)
Sand paper
Stencils/decals
Painting Bathroom Tiles
For best results, always follow the rule that the surface you are painting will need some kind of preparation. At the very least, you would always clean a surface before applying paint but there are other steps you will need to take.
Although grout is listed as optional, it is something you will need if there are any defects in your tiles. You will want to fill those in using grout or Polyfilla before you do anything else. Make sure the surface is clean first and sand the grout/Polyfilla down once it has set for a smooth surface.
The surface of your tiles should be cleaned again after grouting to get rid of any residue, dirt and other grime. Unsurprisingly, your bathroom tiles become incredibly dirty due to the purpose of the room and the presence of steam. Paint will not properly adhere to a dirty surface resulting in a poor finish.
Applying paint is a craft, which is why expert painters are rarely out of work. You should apply paint from the top of the wall to the bottom. It is important to use a zig-zag motion to get from one side of the wall to the other if you want a professional finish. By the time you are done all the gaps should be completely filled in.
The first coat is your primer coat, which is intended to act as an undercoat. Make sure the primer is completely dry before moving onto the next stage. This can take four hours or more, depending on ambient temperature. However, you do not want paint to dry out too quickly, as it can lead to the paint dehydrating and destroying the finish.
Apply your coats of paint conservatively. You want full cover and a smooth finish but you do not want to overdo it. Always wait until each coat is dry before applying the next otherwise, you won’t get an accurate idea of how the paint is taking to the tiles.
Plain painted tiles can look great but you may want to add a little creativity to the mix. Stencils or decals are excellent additions to painted bathroom tiles. Another idea is using ornate stencil art to create a more sophisticated design.
Large bathrooms can look great decorated with stencil art or decals as you can use stencils or decals to break up the space. It is important however, to make sure you do not go overboard.
What sort of mood do you want for your bathroom? Relaxing or energising? Trendy or timeless? The rule of three is a great guiding principle for creating a bathroom colour scheme. Pick one neutral, one rich colour and one accent. Use the lightest colour for 70 percent of the room’s décor, the second lightest for 20 percent and the boldest for 10 percent.
Houspect provides excellence in building inspections all across South Australia. If you are thinking of renovating or building, give us a call today.


